Time for Sourdough- let’s bake the world a better place!
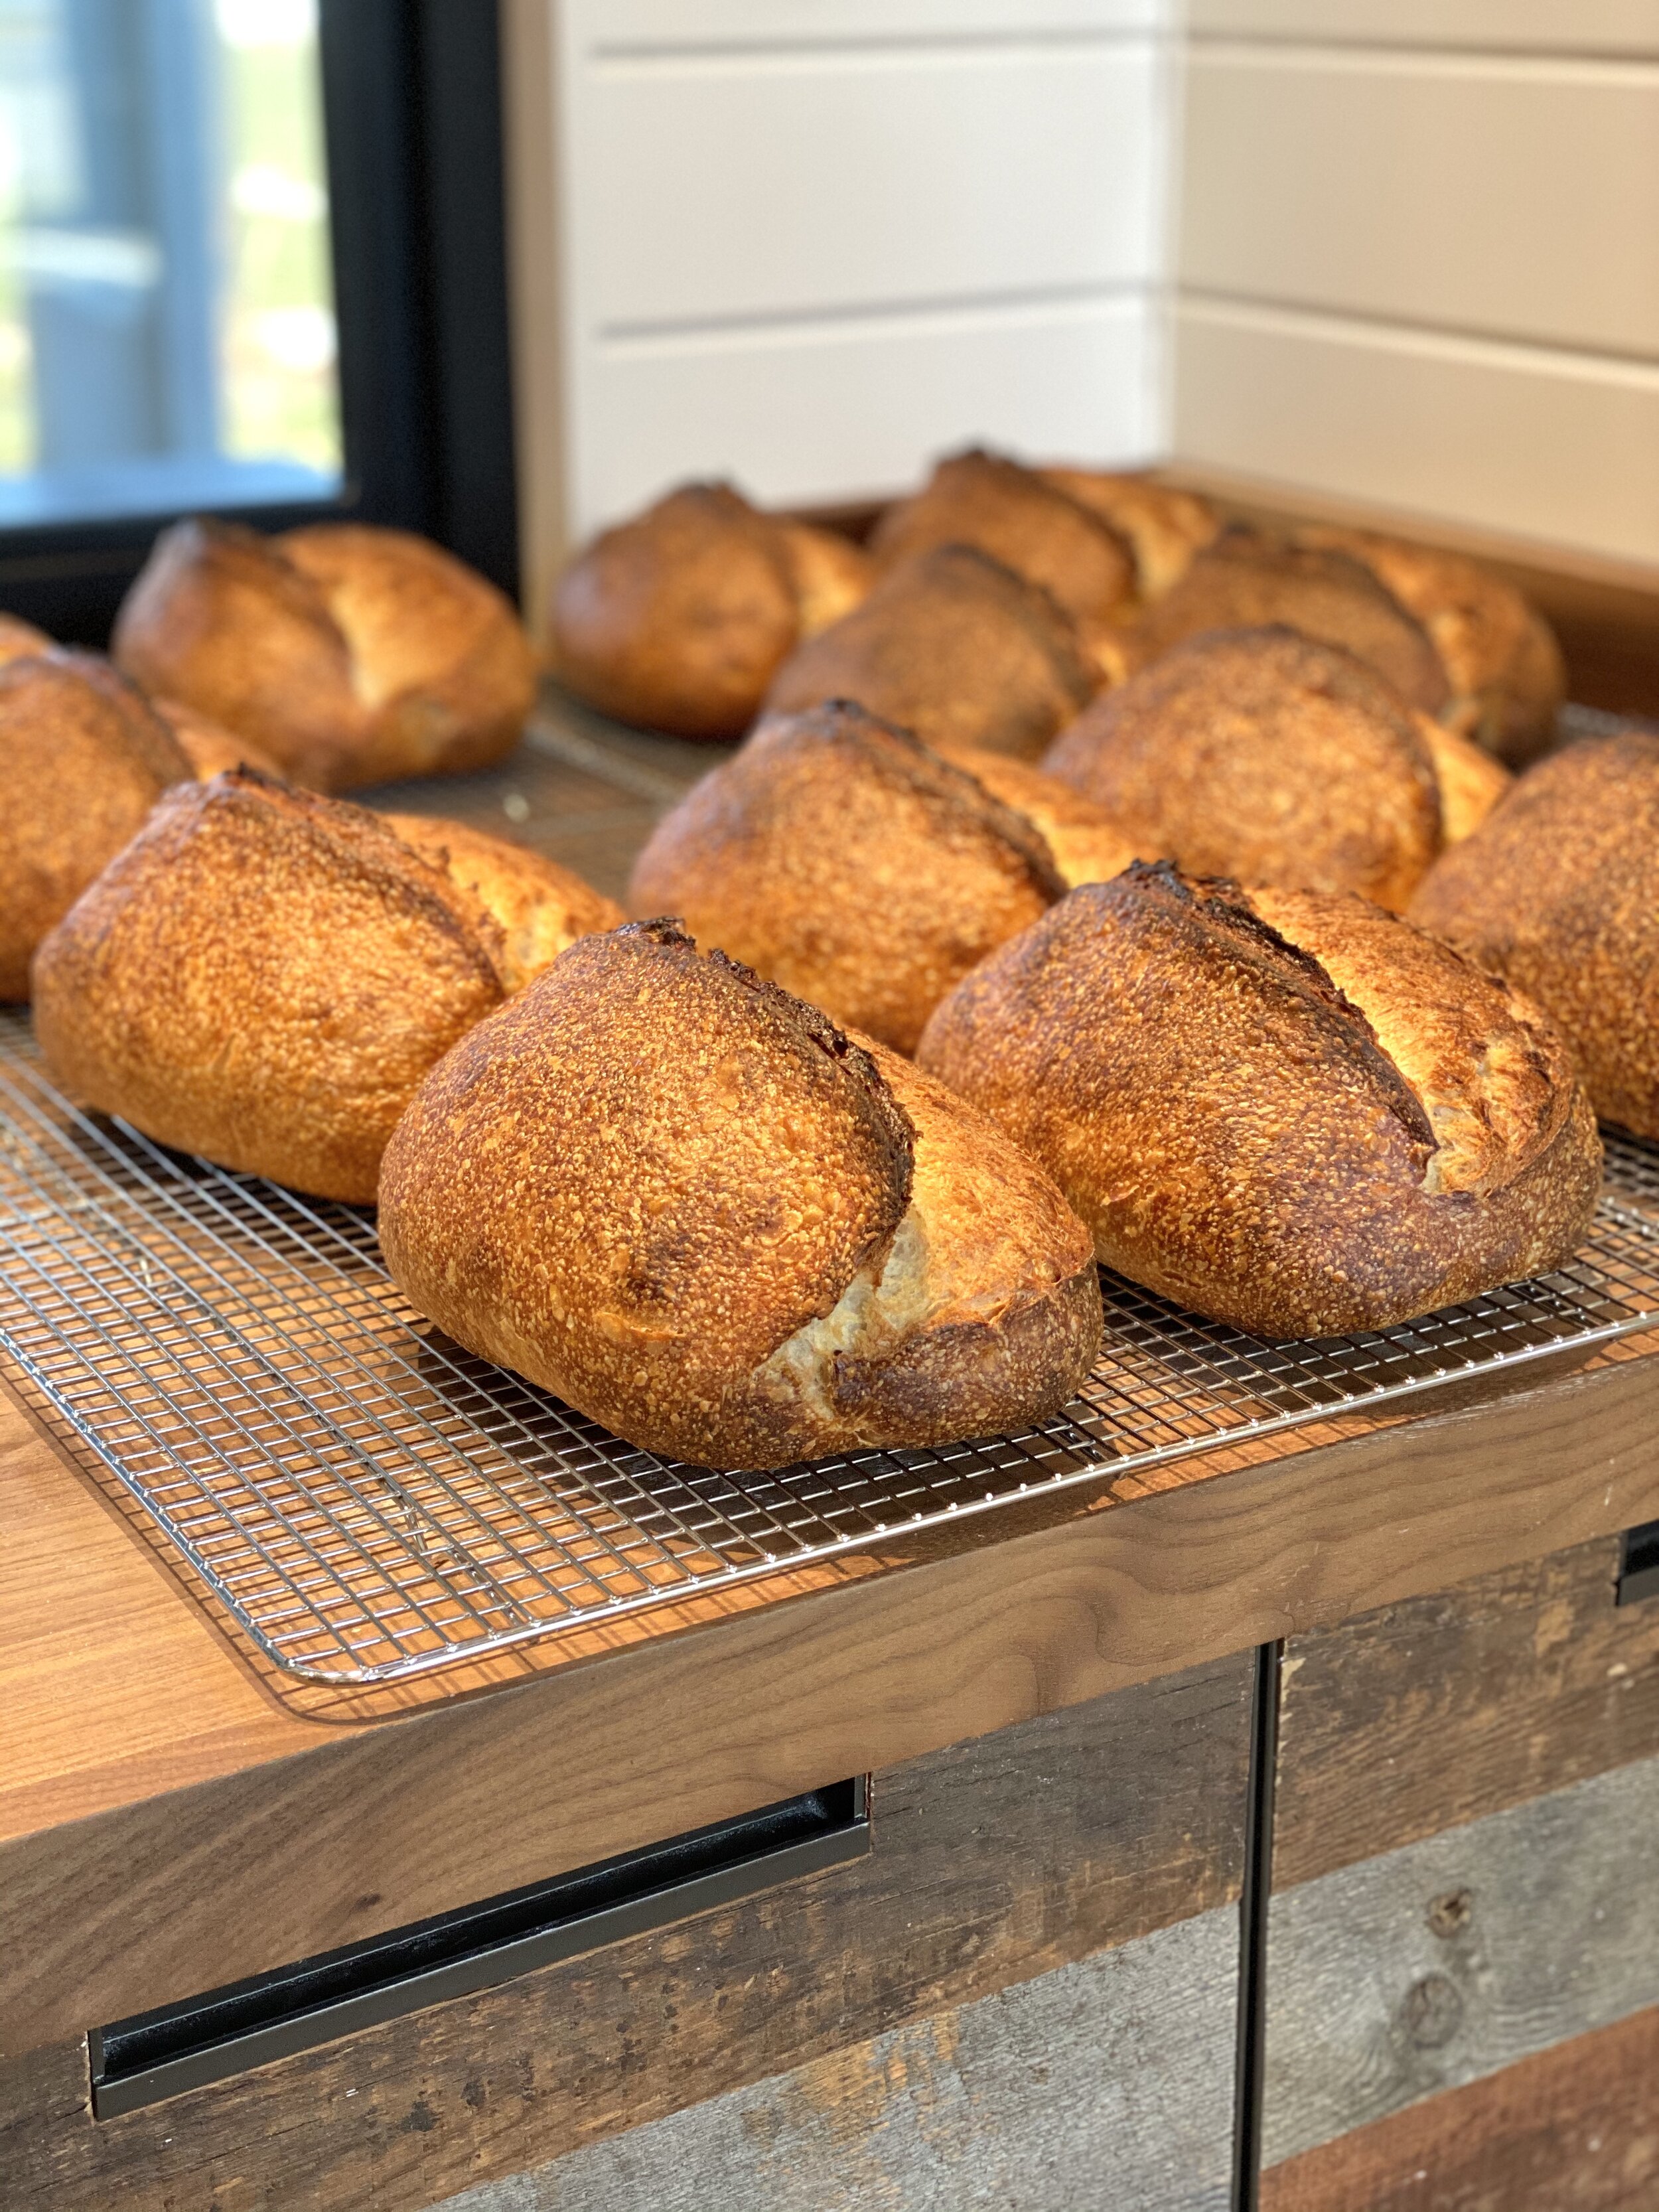
During this shelter in place, we are all going a bit stir crazy, and have found ourselves with extra time. My husband Jim has been on his “bread journey” for almost four years now, and is using this time to bake 12 loaves of sourdough bread a day to share with our friends and neighbors. It is our way to give back to our community- while staying socially connected, yet physically distant (the bread is placed in a cooler by our garage then picked by those who signed up for their daily bread.)
Baked fresh daily, ready to be sliced and picked up! Sourdough bread is an excellent source of vitamins and is rich with minerals like iron. It’s also a protein, and has probiotic benefits which keep your gut healthy with fiber and good bacteria.
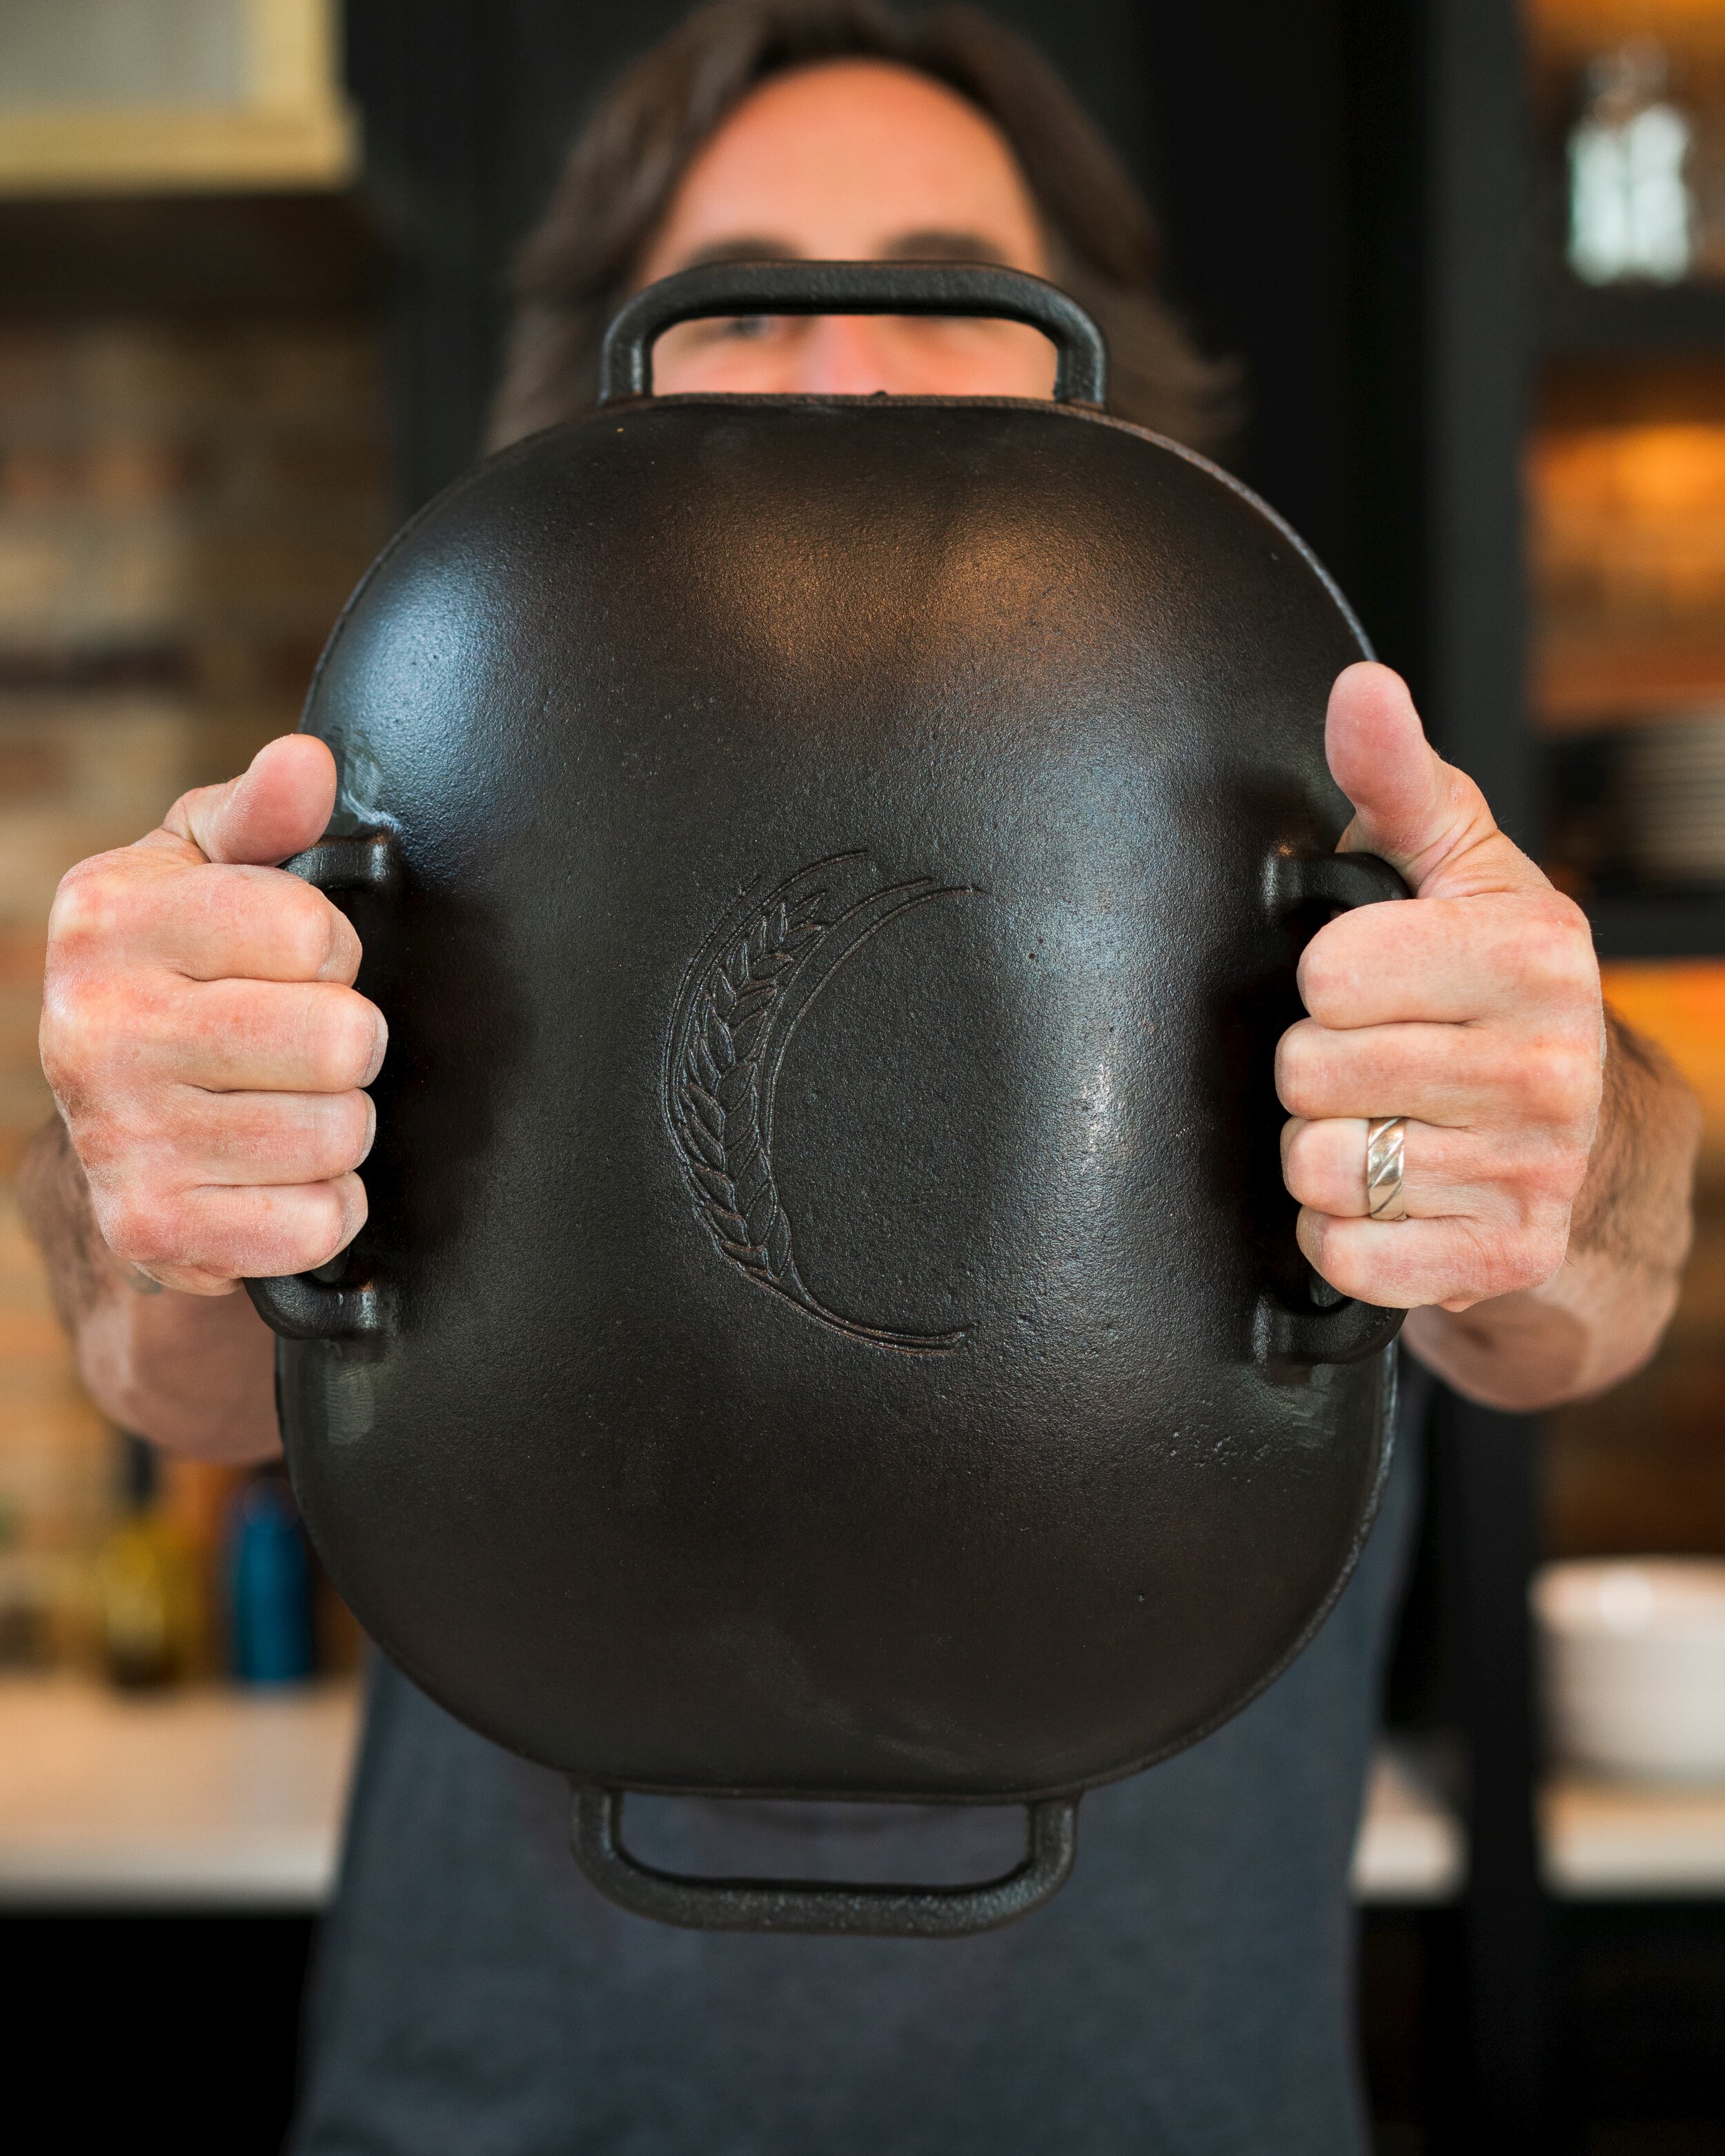
What began for Jim as a hobby and a way to learn to make better pizza for our family pizza parties, became an obsession, and now a business! In August of 2019 we moved into our new house/farm AND launched Challenger Breadware- the first cast iron bread pan designed by bakers, for bakers. After many revisions and sleepless nights, not to mention a fire at our foundry in October (bye Christmas!) we are now shipping Worldwide.
Below is an easy sourdough recipe that makes absolutely delicious bread that you can share with your friends and family. After very little hands on time, it rises overnight. The magic happens once you put it in your Challenger Bread Pan, score it quickly, and bake it up for 45 minutes. Your kitchen will smell wonderful all morning.
I hope this post finds you well, and perhaps inspires you to try your hand at baking too!
Let’s start at the beginning… baking with freshly milled flours makes a tremendous difference in the way your bread tastes. Most of the time, fresh grains and flours means using local, small mills and farms to source your ingredients. On the Flours and Grains page of our website, you will find a curated list of where you can purchase grains and flours in the United States (most of them ship!)
You can make bread with baker’s yeast or you can make your own yeast- a Starter. Making your own Starter is not difficult but it does take time… and we all have plenty of that right now! If you want to try and make your own Starter, our friend Kristen @fullproofbaking has the best instructional videos on YouTube. If you are going to make your bread with baker’s yeast, @bakewithjack can help you via his videos on YouTube.
Easy Artisan Sourdough Bread
A Step by Step Guide
Step 1. Prepare the levain needed for your bread. Wait for it to reach its peak.
Step 2. Withhold 5% of your water. Around 3 hours before you think your levain will peak, mix your flour and water together until you can’t see or feel any dry flour.
Step 3. When your levain is at its peak spread it on top of the dough. Dimple it in with your fingertips. Mix the starter in gently and thoroughly.
Step 4. After 30 minutes, sprinkle the reserved water and salt on top of the dough. Dimple it in with your fingertips. Mix the salt in gently and thoroughly. Transfer your dough to a clean container.
Step 5. Give your dough a four-sided fold every 30-45 minutes. Look at the top of the dough before each fold. At the start, your dough will be all smooth and you won’t be able to see the previous fold. As you give your dough more folds, you’ll begin seeing the remnants of your last fold. I always give it one last fold after I can still see a good amount of the last fold.
Step 6. If you’ve made enough dough for more than one loaf, divide it now. Then preshape each piece of dough into a tight round. Let it Bench Rest, covered, for 15 minutes.
Step 7. Shape your dough into your desired shape and place it in your banneton. Let it rest again for 15 minutes.
Step 8. Place your banneton in the refrigerator for 13 hours.
Step 9. After 12 hours, preheat your oven to 500°F with the Challenger inside. After 13 hours, remove your pan and the cover…
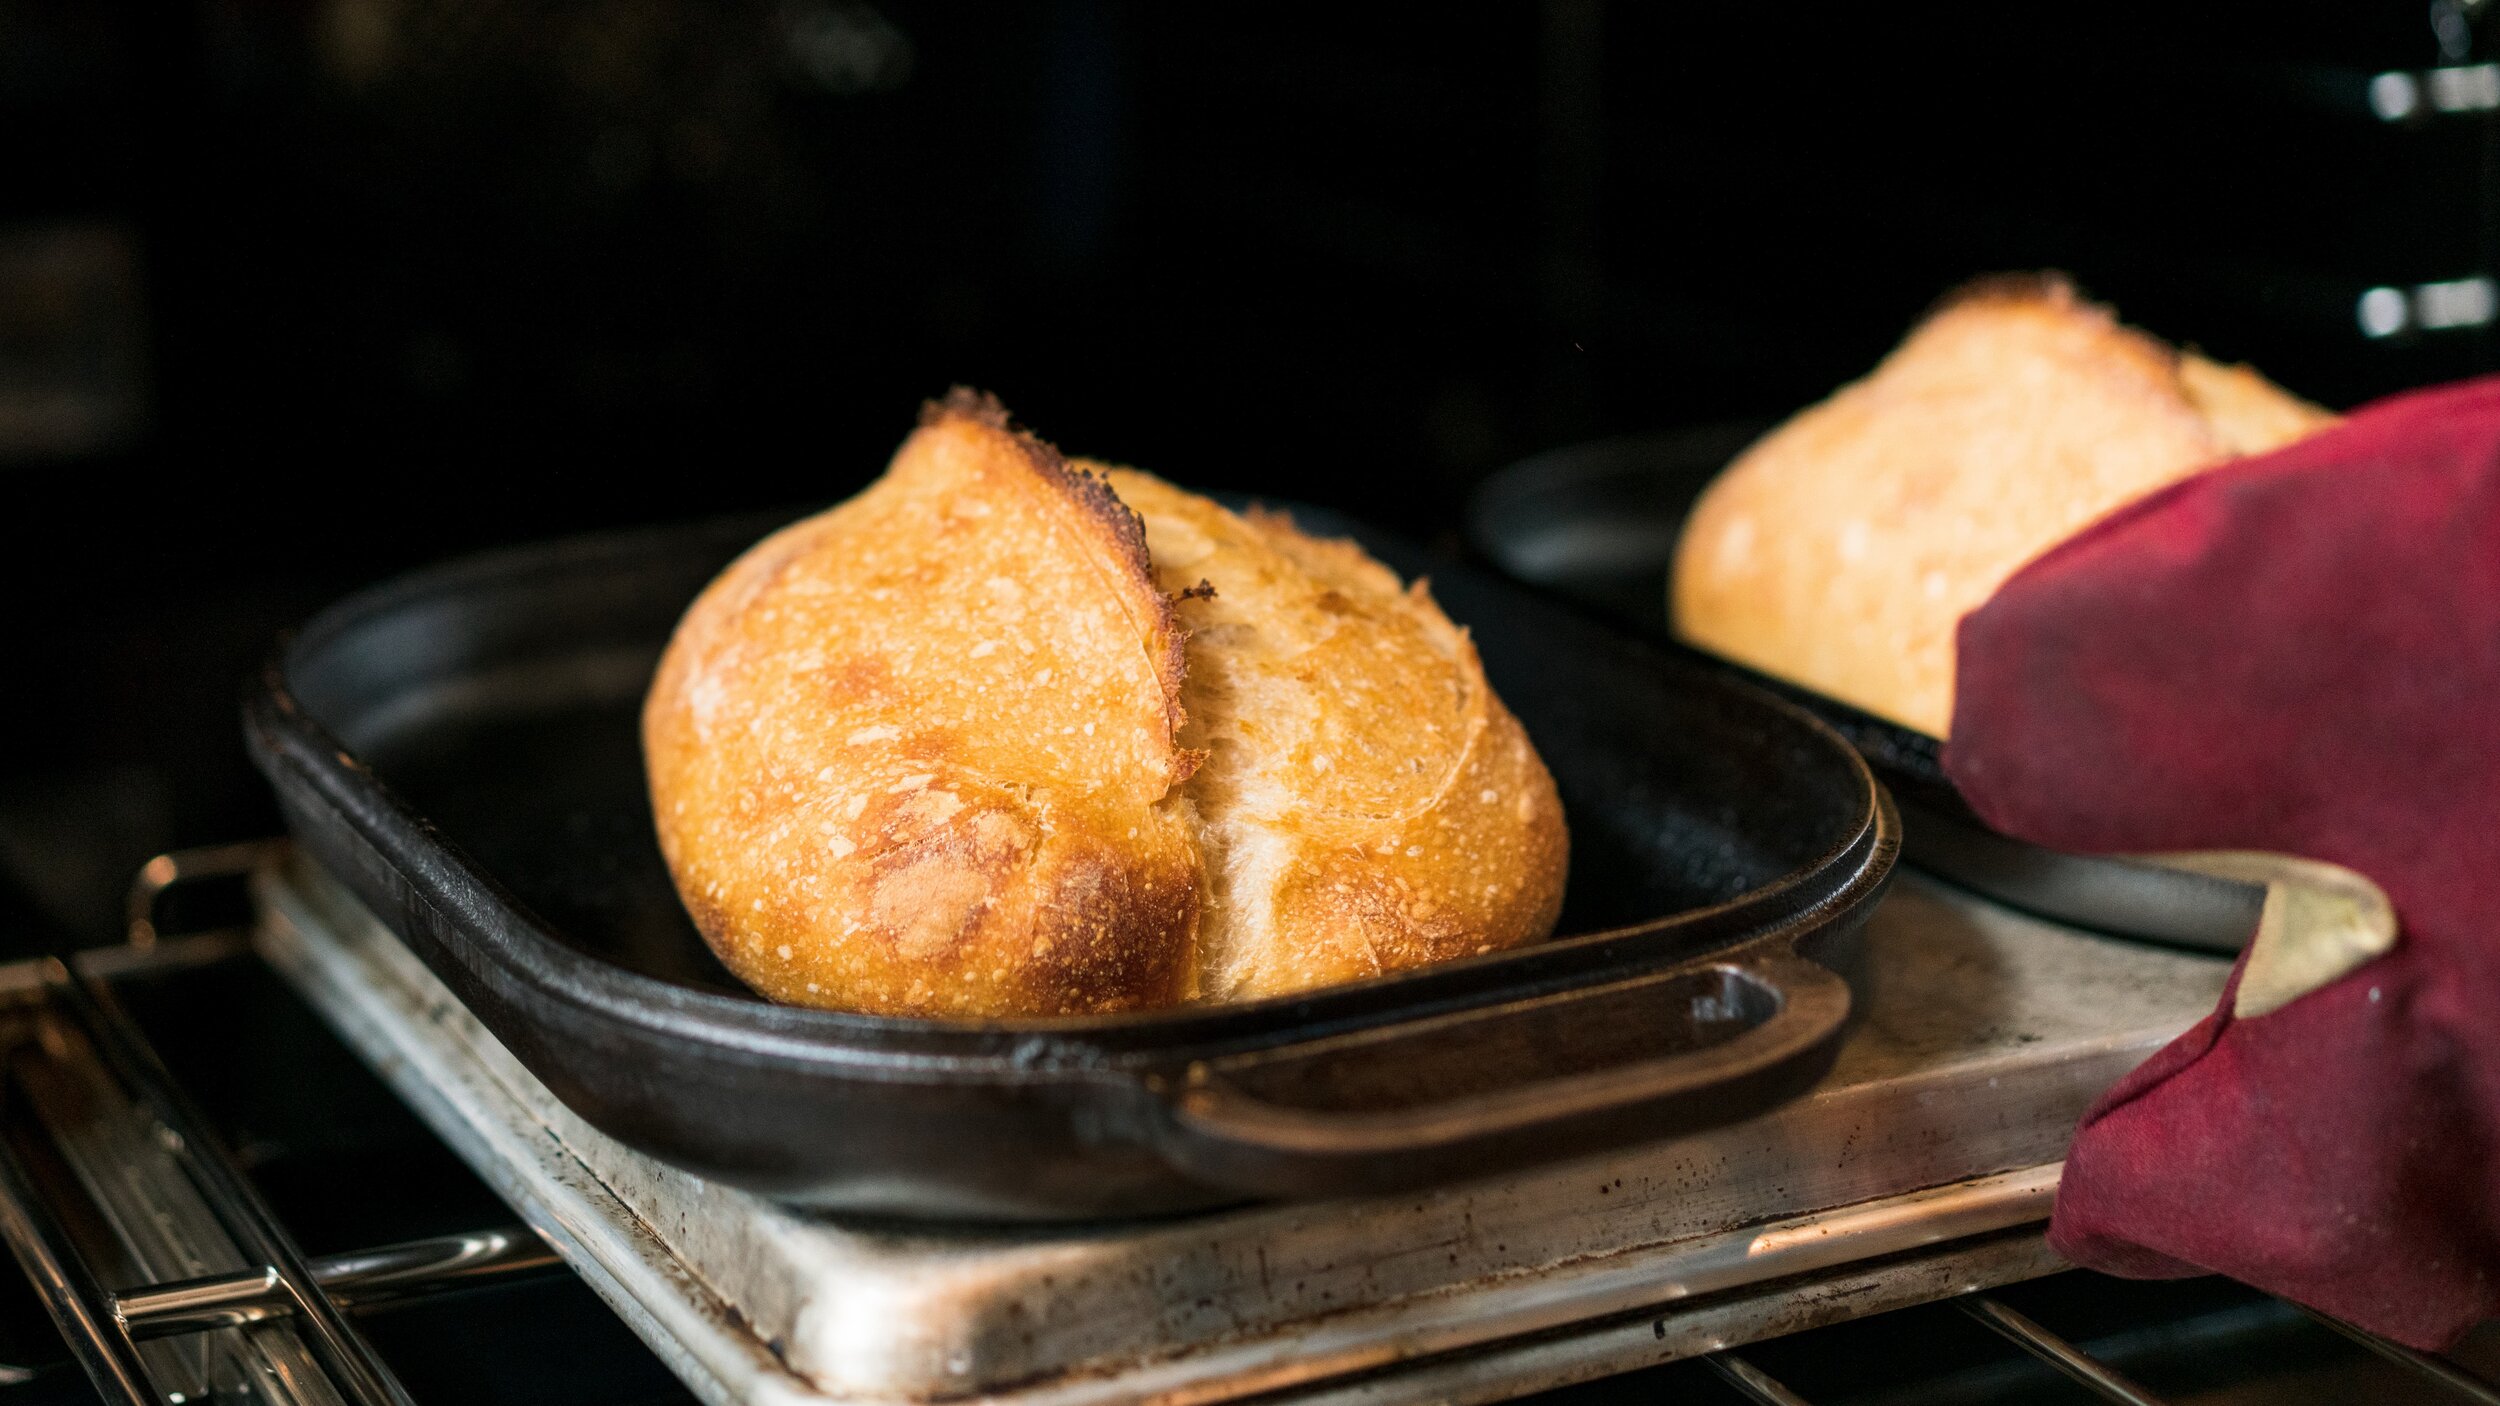
Step 9 cont… Carefully turn out your dough into the base. Score it. Cover it. And bake for 20 minutes.
Step 9 cont… Take the cover off, turn your oven down to 450°F, and bake for an additional 25-30 minutes.
Step 10. Take your loaf out of your Challenger and set it on a cooling rack. Two or three hours is best.
Whether you are looking for a new hobby or are an at home experienced baker, and wondering about the benefits of baking in the Challenger Bread Pan… you can read this recent article from Food & Wine magazine, The Best Bread Cloches You Can Buy Right Now. And YES they voted the Challenger Bread Pan as the best!


![Flour Dusting [1] (1).jpg](https://images.squarespace-cdn.com/content/v1/5e062beb2a88e45d3b6ba8b3/1585497879759-ABRBX01HU9XLTA9OESFB/Flour+Dusting+%5B1%5D+%281%29.jpg)


